

I did this project in January of 2018. I wish I would have taken a few more pictures, however, I am going to write it up and tell you how I made this awesome tea caddy. It turned out so amazingly well, the paper and colors I picked made it POP.
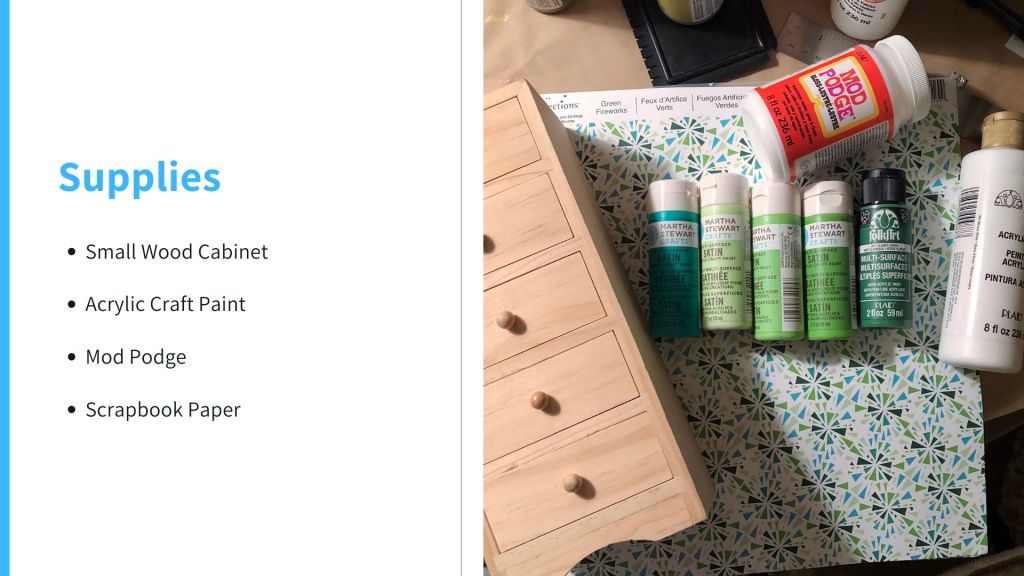
You need some supplies to make this:
- A small wooden cabinet – I got this one when I worked at a craft company. The size was perfect for packets of Tea
- Acrylic paint – Get as many colors as you would like. I painted each drawer a different color, as well as the body.
- Mod Podge – to decoupage the paper on the cabinet.
- Scrapbook Paper – pick some paper that you love, I found this paper on clearance in Michaels in 2018 (Sorry if you love it, but it’s long gone).
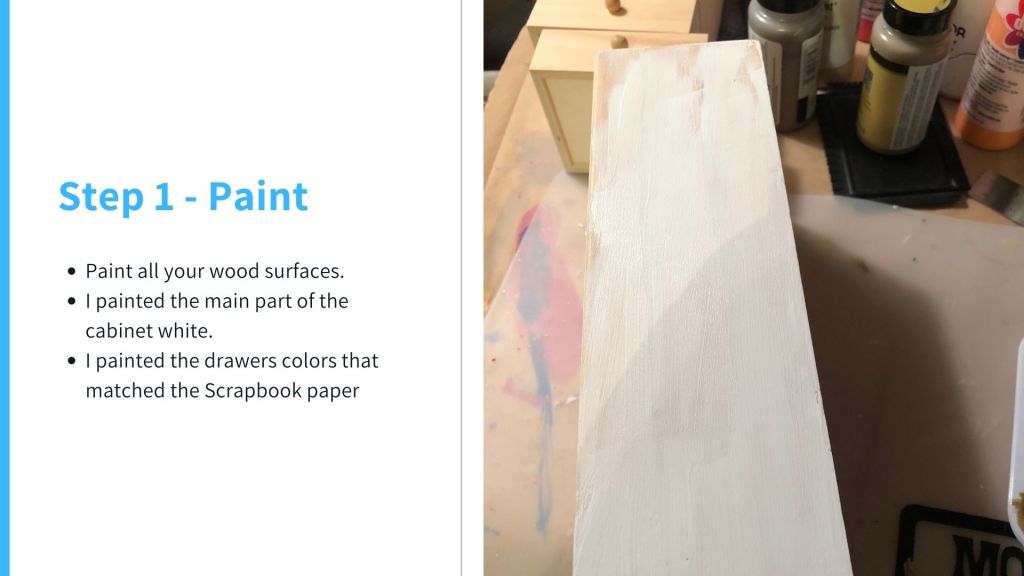
Step 1 – Paint
I like to paint everything first. It is the part that takes the longest to complete, at least to me. I painted the body of the cabinet white, but I really didn’t have too. Initially, I was going to leave the front white, but I decided to chance it and put the paper on it. Then I painted each drawer, inside and out, a different color that matched the paper.
Then I put them aside to dry. Because it needs to be 100% dry before you Mod Podge the paper on the cabinet.
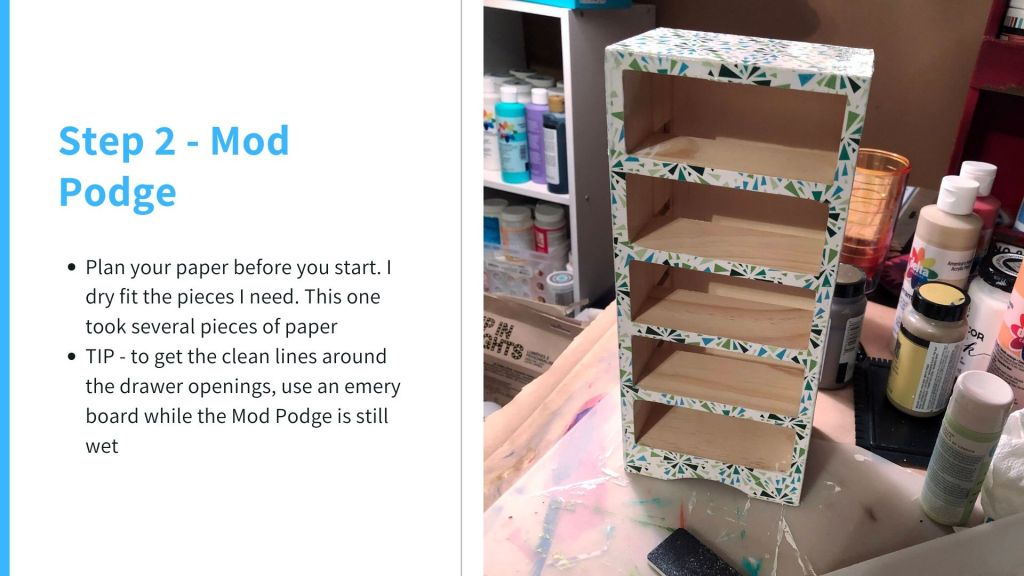
Step 2 – Mod Podge the paper on.
This can be super tricky. I wish I had shown how I made the pattern for this box because it’s a bit tricky. What I did was wrap one sheet around the sides and back. I creased the paper at corners and the top and bottom. I then repeated this on top. The front was the tricky part. I made a pattern for just the front and put the paper on, I didn’t cut the openings yet. After I affixed the paper I cut the openings with an Exacto knife. I got it pretty close to edges. Then I took an emery board to remove the excess paper. It’s the best way to get a clean line. But only do this when the Mod Podge is still wet, if not you will ruin the finish.
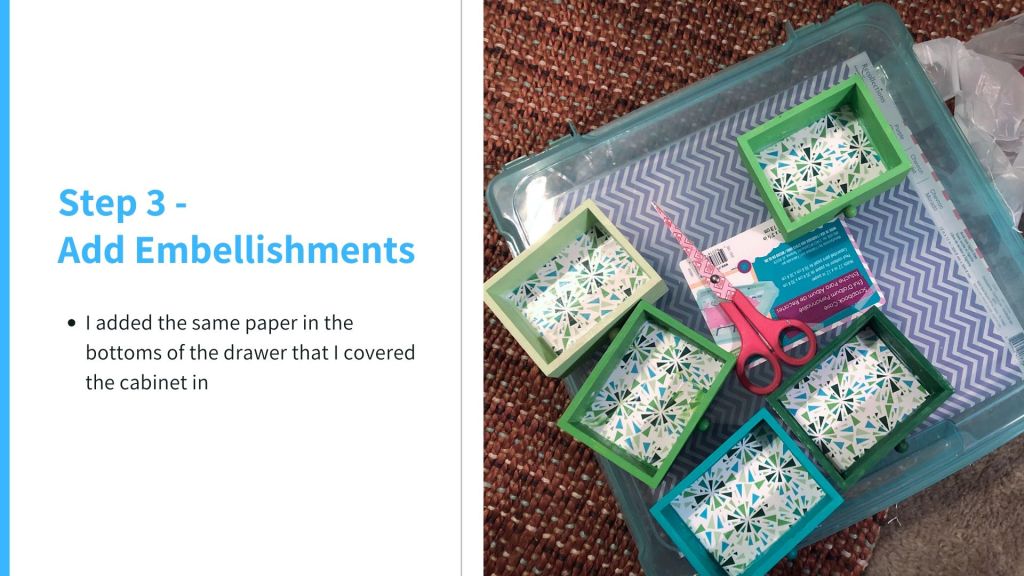
Step 3 – Add Embellishments
I like to add something special to the projects I do, this project is no exception. I came up with the idea of lining the drawers with the leftover paper. Granted, no one will see it but I thought it added something special, and it covered a few tricky areas to paint. I also debated painting the knobs on the drawers a metallic color but decided against it.
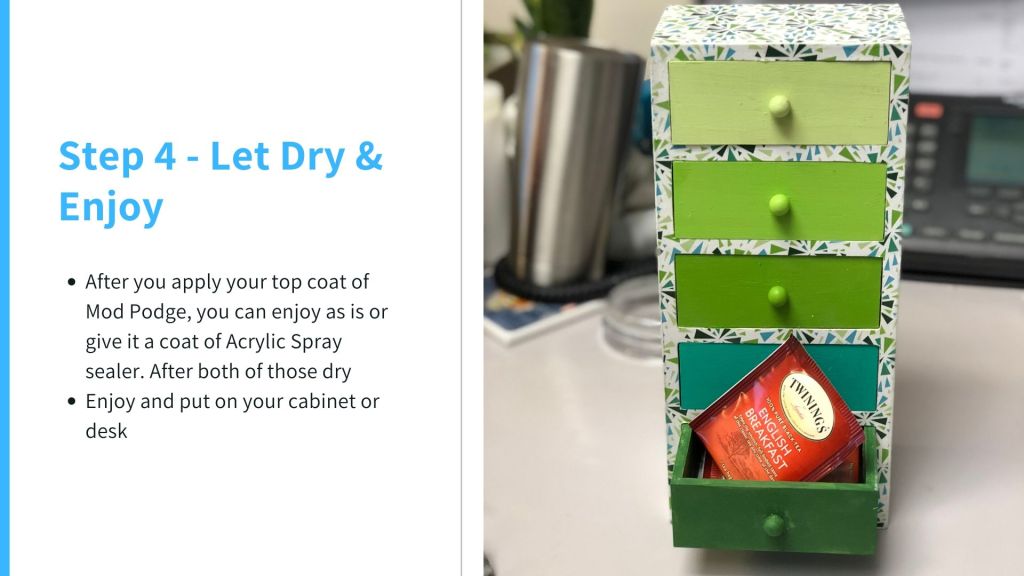
Step 4 – Let Dry & Enjoy
After you topcoat with Mod Podge, let dry. You can skip right to enjoy or topcoat with a spray acrylic sealer. I would recommend doing that if you are going to have it in a high traffic area and if it’s going to be handled often or by a lot of people. The spray sealer just gives you extra protection.
Now, boil some water, kick back and relax while you drink your Orange Blossom tea (or your favorite).
