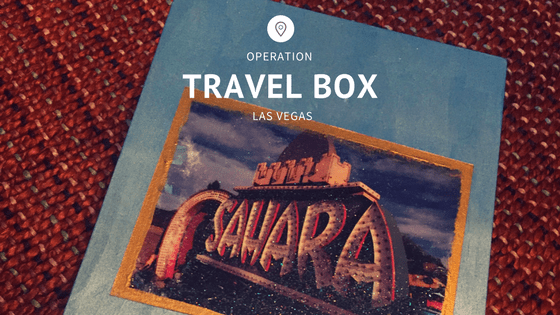
When you do a craft for Vegas, you have to bring on the bling and sparkle. To do so is against several laws I think! This project was inspired by a post from Martha Stewart. She created travel boxes to keep mementos from trips you take. I love this idea. Doing a scrapbook takes way too much time for me. The last time I did one was when I drove across country. But that’s an entirely different story. This is perfect because you can put tickets, postcards, pictures and whatever else you want in the box. This box will hold a few trips to Vegas but you can create one for each trip you take.
Supplies Used to Make this Box
- Wood Box – from a craft store
- FolkArt – Blue Pearl Metalic Paint
- Mod Podge Gloss
- Mod Podge Extreme Glitter
- Mod Podge Photo Transfer Medium
- FolkArt – Pure Gold Paint
- Laser Printed Pictures
Apps Used
- Waterlogue – iOS app to turn pictures into watercolor
- ToonCam – iOS app to turn pictures into cartoons
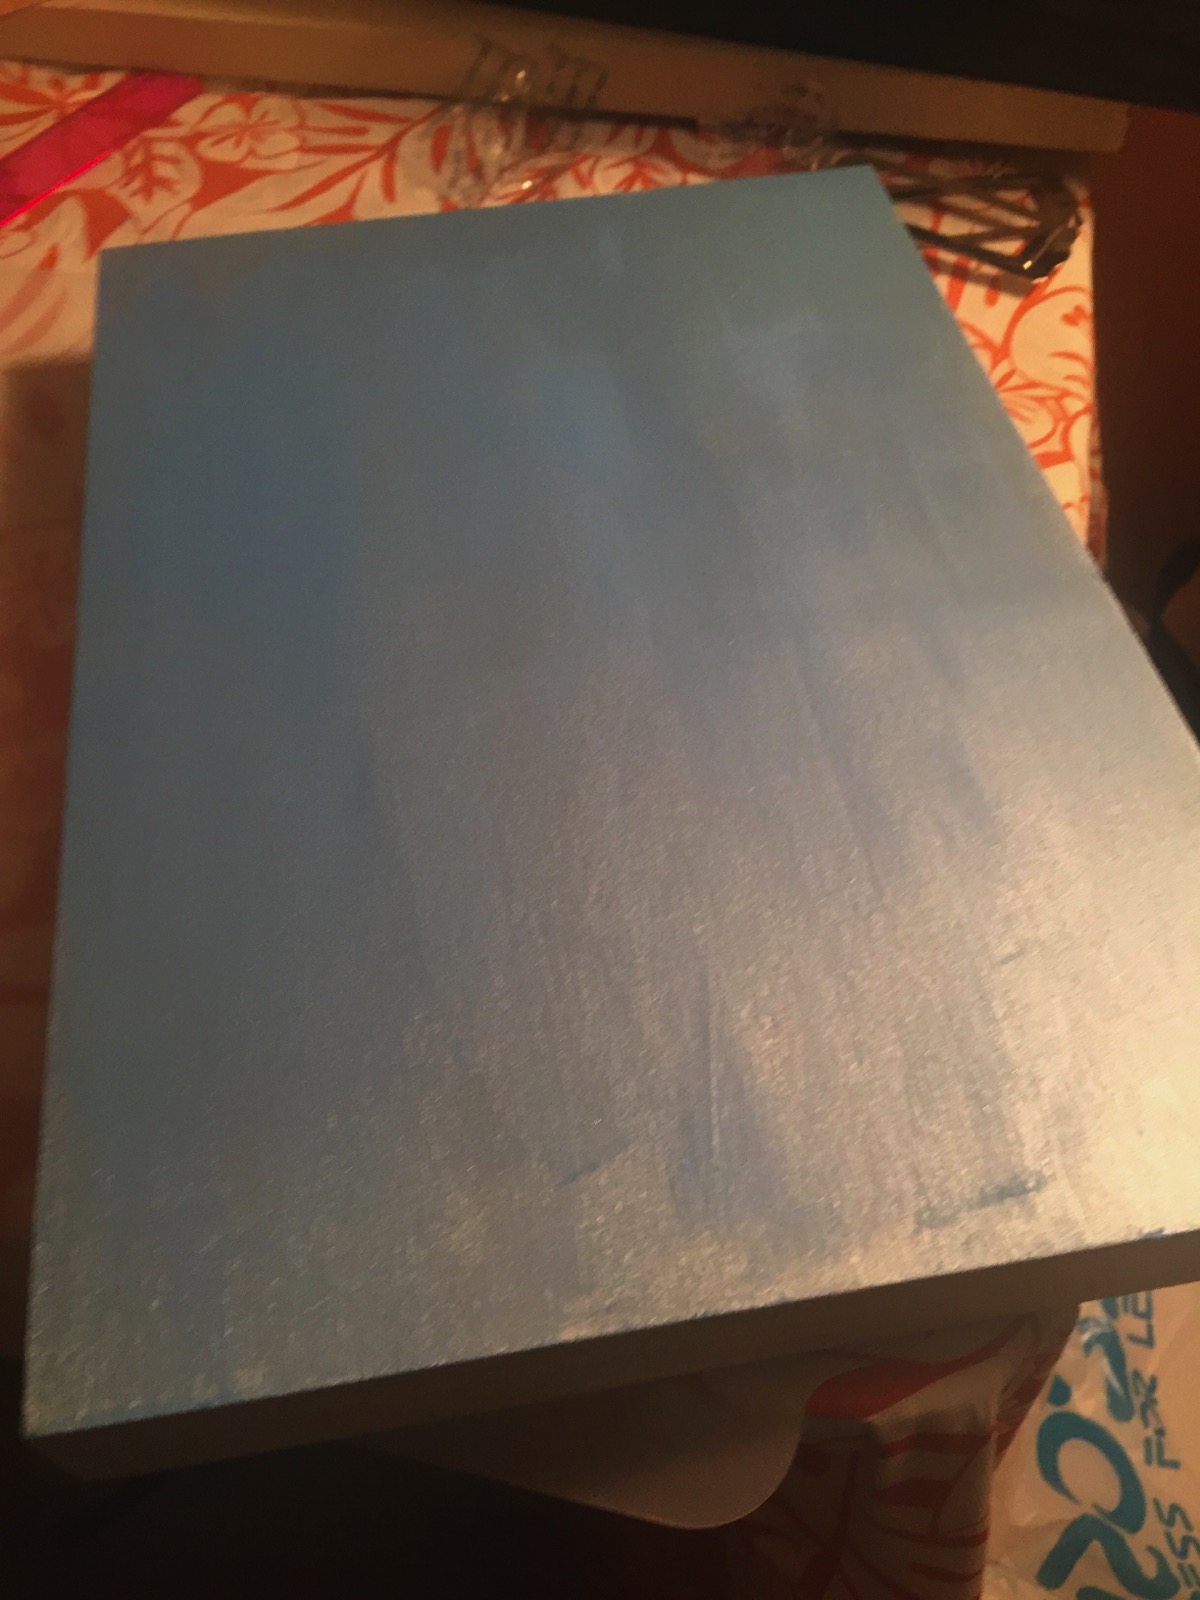
The first step I did was sand the box. I didn’t sand it very much, just enough to rough up the surface. I painted the entire box. This includes the lid (inside and out), the box (inside and out) including the bottom with the Blue Pearl. At first, I wasn’t happy with the color. As it dried, I loved the color. I was very happy I went with this color!
After the box dried it was time to break out the Mod Podge Photo Transfer Medium. NOTE, you can’t use regular Mod Podge for this. You need this special formula. You put the Photo Transfer on the photo. TIP, print a mirror image of the one you want to use. Especially if it has writing. Cover the entire image with the white Mod Podge Photo Transfer. Then put it where you want it. Make sure you have it exactly where you want it, unlike regular Mod Podge, it didn’t shift any. Get all the bubble out and make sure you get all the excess medium wiped up. This means going back to check it in the first few hours. I had some that dried and it caused me issues.
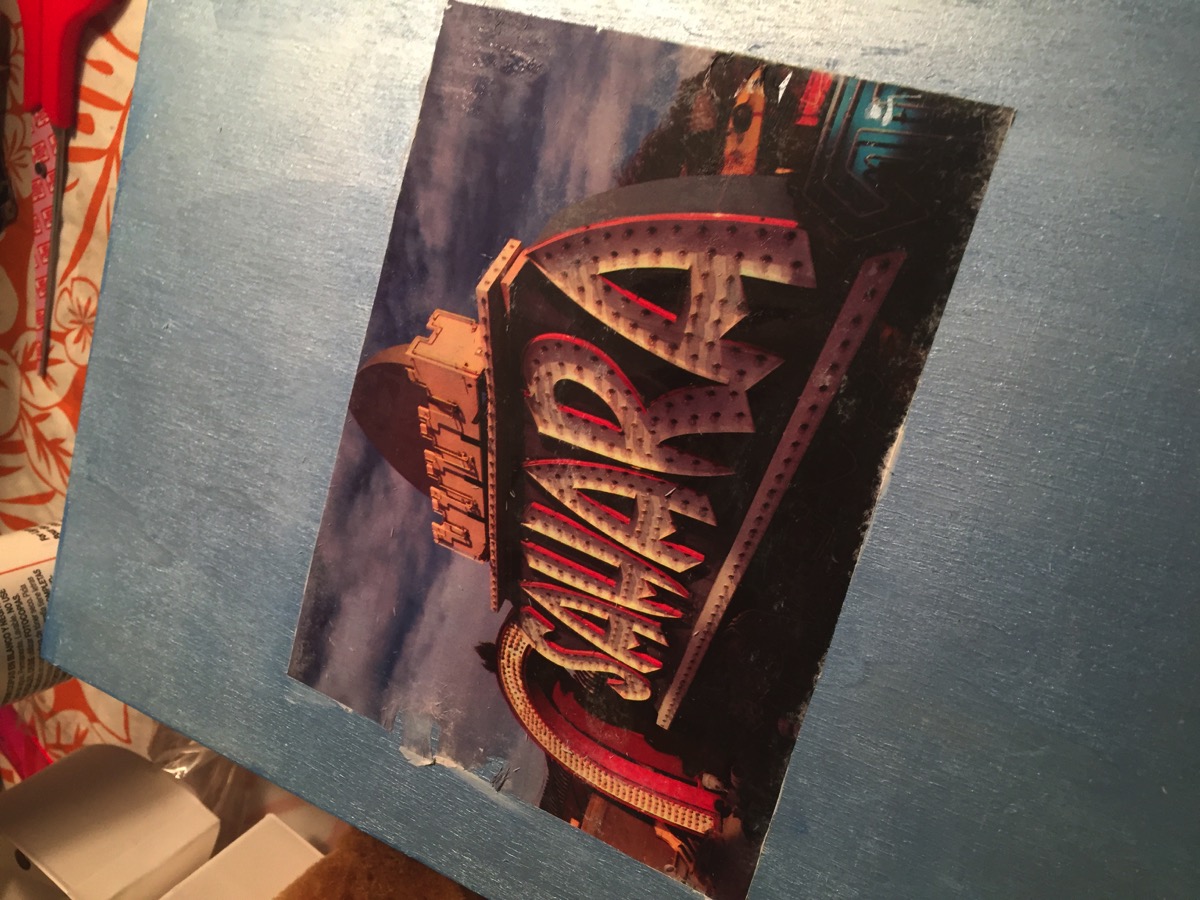
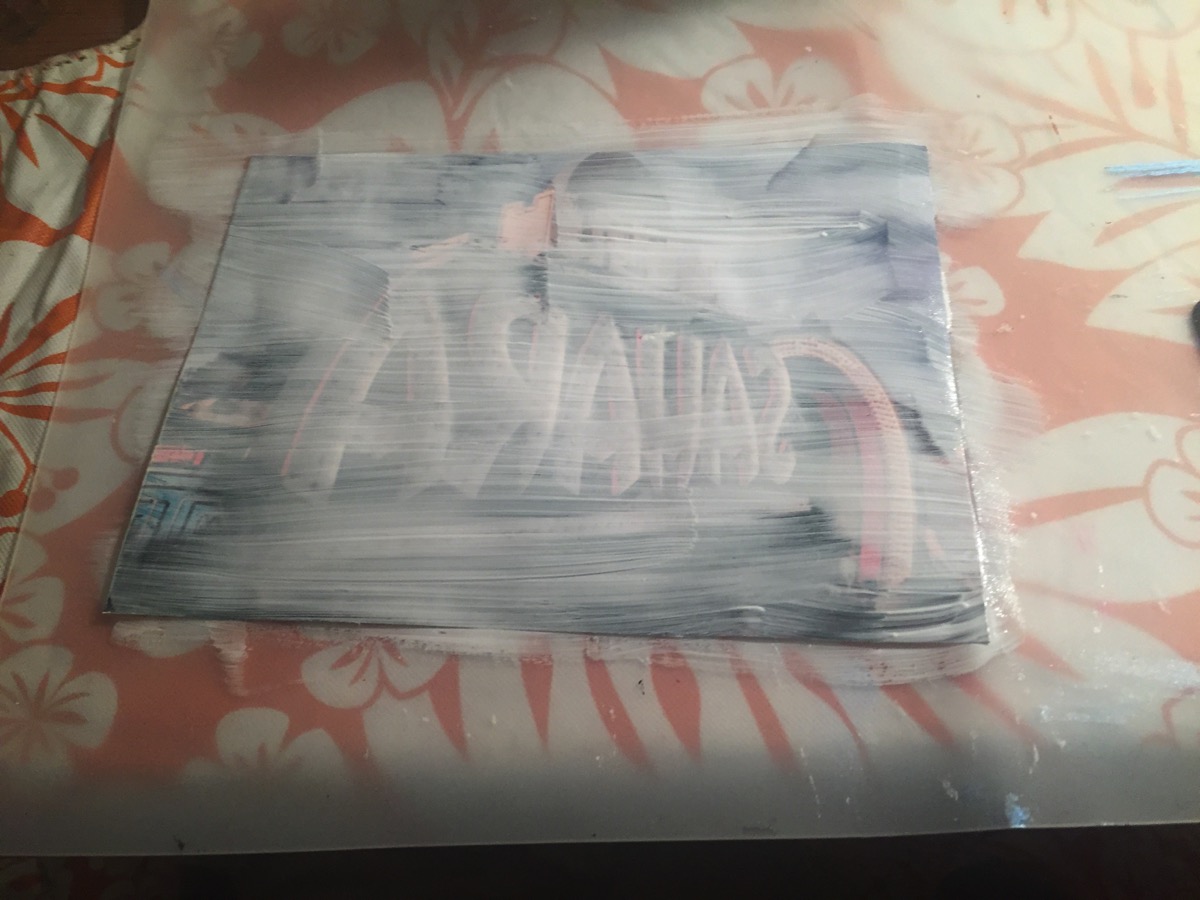
Let this sit for a minimum of 24 hours. I let mine sit for 25 hours. Get a sponge and wet the paper and let it soak in for 30 seconds. I found it’s best to use your finger rather than a sponge. Start to rub the back of the paper and it will start to come up. It’s a slow process so don’t rush it and put too much pressure on the image. The paper will come up trust me. If you rush or put too much pressure. you will ruin the transfer. The image will get dry, just add more water and keep rubbing till it’s clear. If it’s still cloudy, there is paper still on the image. My issues came when the excess Photo Transfer medium stuck and pulled some off the side. So, it’s super important to get it up at the start. I had a few issues but nothing major. I like the final effect.
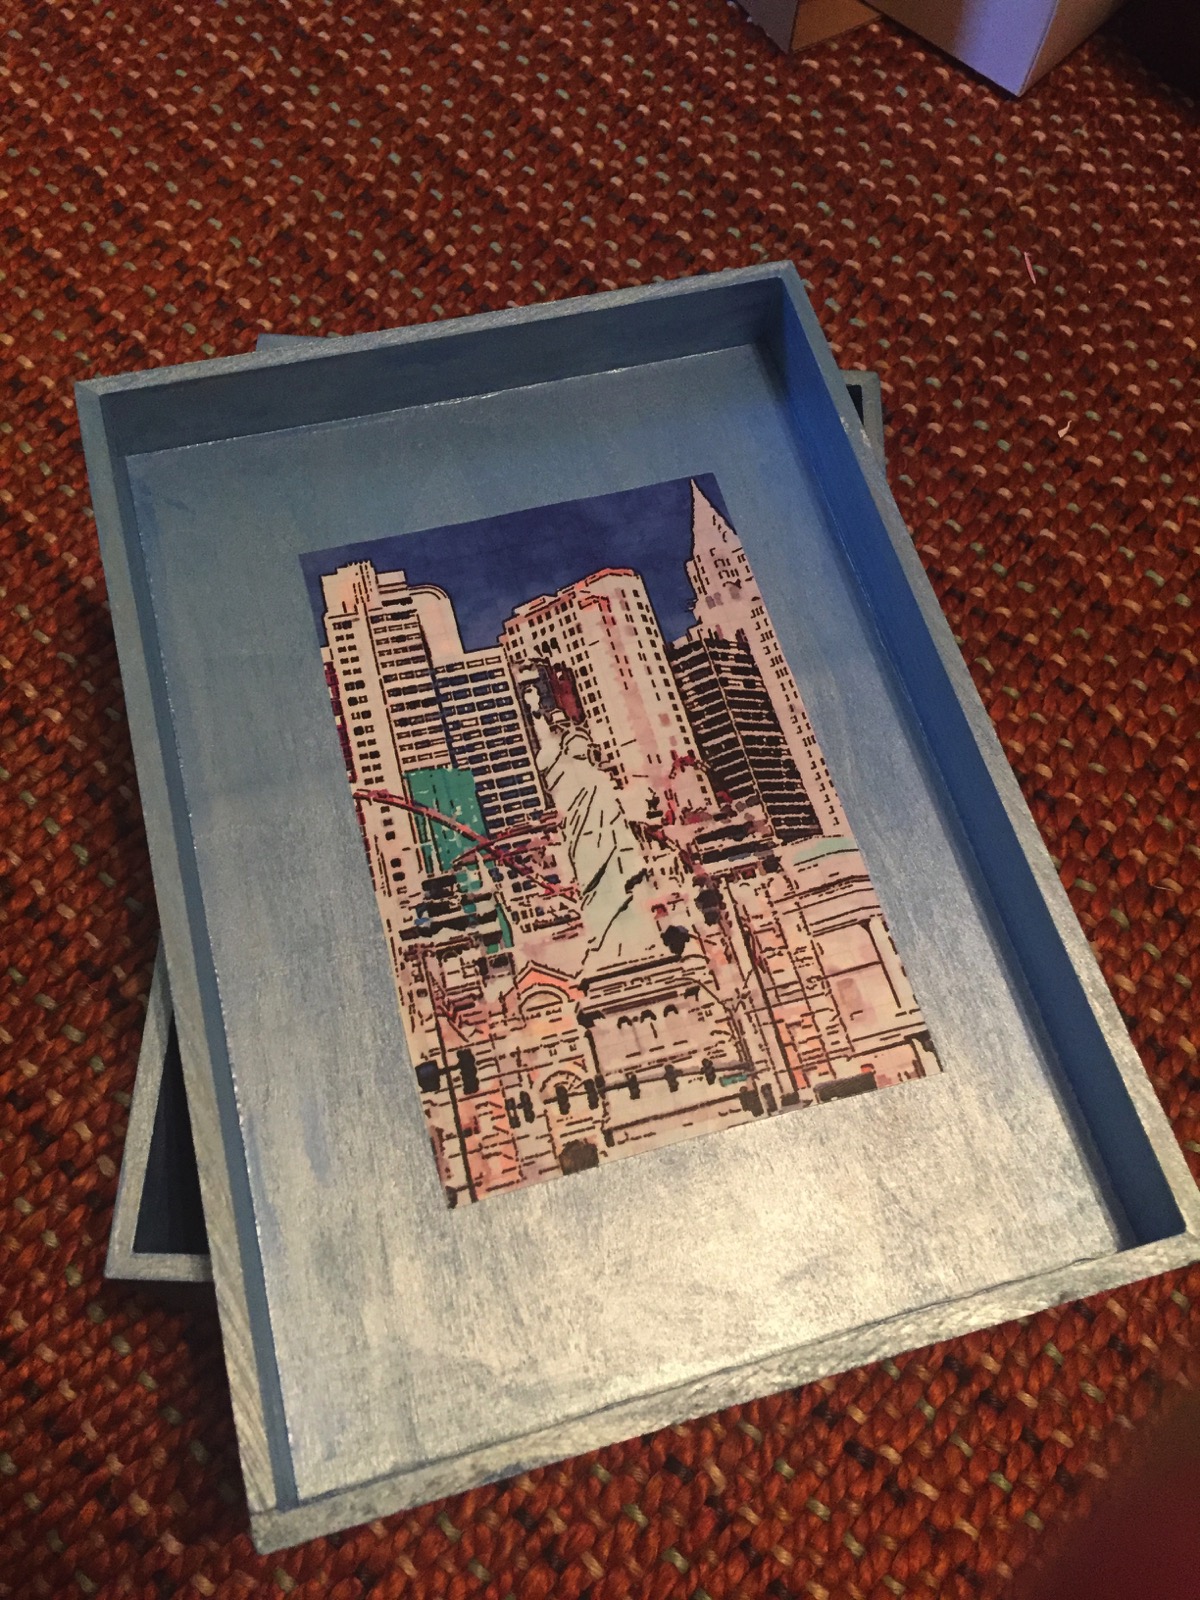
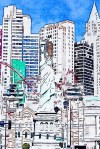
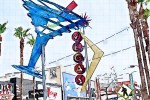
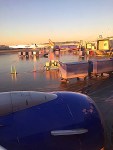
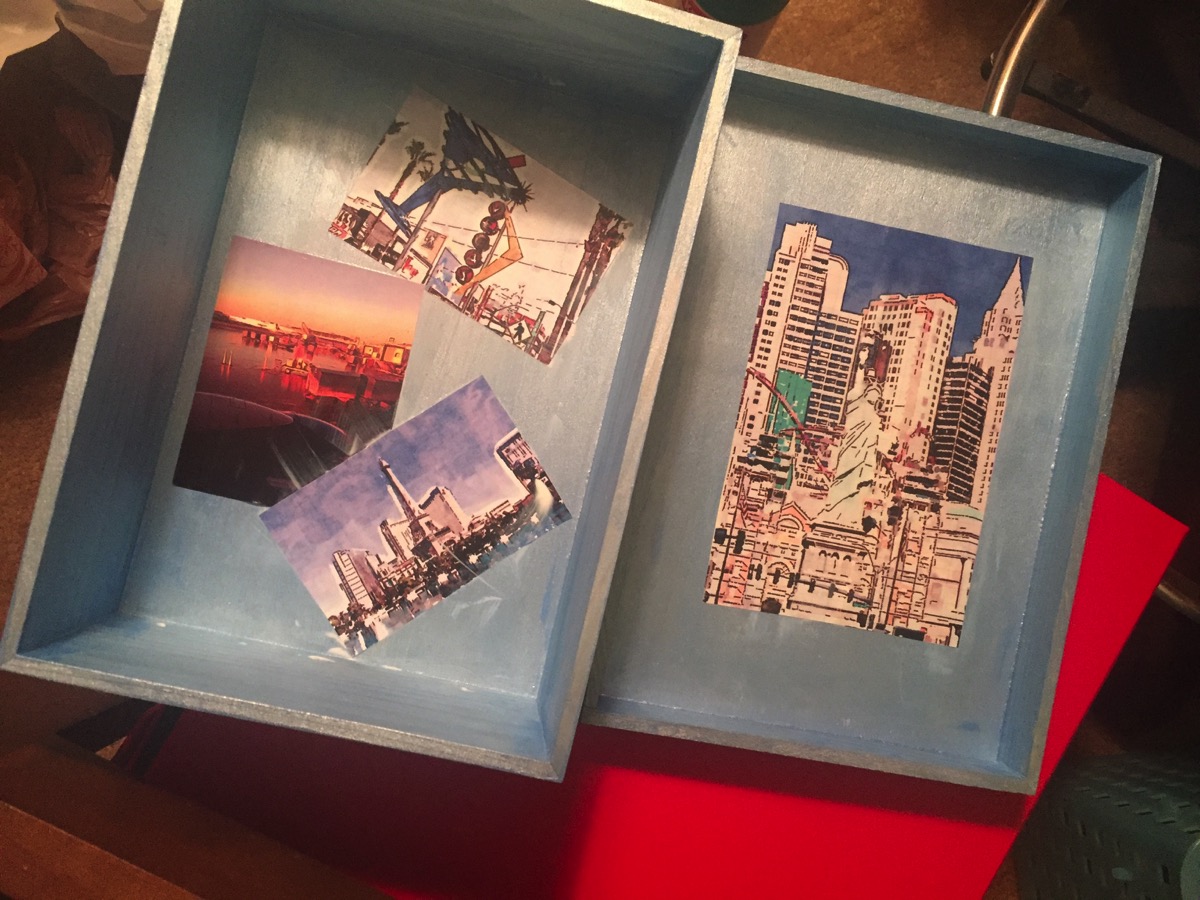
After the image was dried and I got all the paper off (and the paper will be a pain at times to get up). I put the images in the top of the lid and the box itself. I choose my image of NY/NY that I converted with Waterlogue. The three images in the box itself were at Freemont Street, Paris Hotel, and Chicago Airport. You may be going, “that’s not Vegas!” but it was part of a layover coming home from Vegas, so it works for me.
I top coated the inside images with Mod Podge Gloss and let it dry. I coated the top of the box with the same Mod Podge Gloss. After consulting a few people they suggested a gold border. It was something I was hesitant about doing but after seeing the results, it turned out amazing. I had one slight issue. The Mod Podge dried for 24 hours and I used painters tape to mark off the gold border. However, when I tried to move the tape, it took the Mod Podge UP! I was like NOOOO. After a few secs, I realized that I could add some sparkle and hide the issue with Mod Podge Extreme Glitter. Which worked like a charm. There was one big area and one smaller area. You can see them but it takes some effort. Disaster averted! The Pure Gold paint wouldn’t stick at first. I had to do like a stencil brush stroke. I had to dab the color on. I like the sorta distressed inside border it created against the strong line outline.
After that dried, I put on another coat of Mod Podge Gloss. Another tip I was given, if you are going to use paper in the box it’s best to put a layer of Mod Podge Top Coat on it. That way the paper won’t stick to the Mod Podge. The top and inside both got coats of Hard Coat.
This project took a few days. Mainly because Photo Transfer takes 24 hours. It’s perfect for a weekday project. Do it one night and come home and finish after work. I had a lot of fun doing this box. I hope to do a lot more. If you’re beginning crafting, I say jump in! There are ways to fix any mistake! It may make your project better!